Your Basket
£0.00
Many people underestimate the importance of cleaning their incubator so it's easy to slip into bad habits. But you should treat an egg incubator like you would treat any other tool; with respect and care. Cleaning your incubator thoroughly will not only improve hatch rates, it will also hugely extend the useful-working life of the incubator, improve the health of hatchlings and reduce the risk of spreading any bacterial diseases that are hiding inside the incubator.
Little and often
You don’t need to clean your incubator daily or even weekly, since this will interfere with the egg incubation process. But similarly, it’s no use to only do it once a year! Cleaning the incubator little and often is the key. We recommend giving it a full clean after every hatch, leaving it in pristine condition, ready for the next batch of eggs.
Even if you don’t use your incubator regularly, cleaning it after every use ensures that it’s ready when you need it. You never know when you might be handed a batch of fertile eggs to incubate.
Vacuum first
So you’ve just had a successful hatch of fluffy chicks or ducklings. As cute as they may be, they always create a mess. Even the best incubators will end up covered in dust and down-feathers. And, since most incubators are fan assisted, the dust seems to get everywhere, including up in the fans and on the sensors.
We recommend using your vacuum cleaner for this part. In recent years, the vacuum cleaner market has expanded massively, offering every single attachment imaginable. The best ones for use on an incubator are the small brush extensions used for delicate work. If your vacuum cleaner has a power-setting, turn it to low; and be careful not to disturb any electronic components in the process.
Vacuuming the incubator is a great first step as it takes away the majority of the dust and gets to places that other cleaning tools can’t reach.
Clean the sensors
Many incubators have in-built sensors designed to read temperature and humidity. In particular, large cabinet incubators such as the Brinsea Ova-Easy range and the Rcom Maru range have exposed sensors that will work less effectively if covered in down and dust. Your incubator instruction manual will offer guidance on the best ways to clean your sensors.
Disinfect and leave to dry
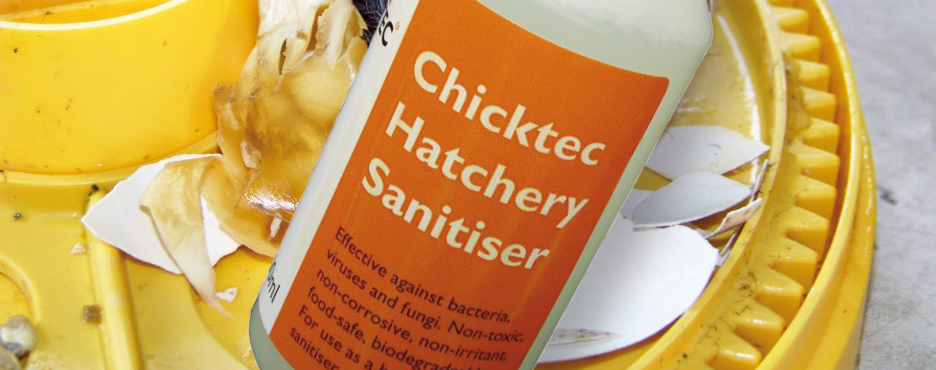
Lastly, using a mild, non-corrosive incubation disinfectant or hatchery sanitiser will clean and sanitise the incubator. It’s not always obvious, but an incubator is also the perfect breeding ground for bacteria; a warm, moist, air-filled chamber makes for a happy home for unwanted germs. Brinsea incubators use anti-microbial plastics which helps reduce this, but nothing works better than a regular cleanse with a good disinfectant.
Use disinfectant diluted in warm water and apply with a sponge, cloth or paper towel. Be sure to remove any baked-on chick poo as you go. If you can remove the base of the incubator, do so, then soak it in the disinfectant for a few minutes. Once all the parts are cleaned, leave the incubator to dry naturally for several hours.
A full clean should only take a few minutes, but it will save hours of frustration and upset in years to come.
|
|
|
|
|
|
|
|
|


